


The Contacts module stores every customer your team has interacted with. This guide covers how contacts are created, how to add and import them manually, how to organize your contact list, and what actions you can take from an individual contact record.
To access Contacts, go to Sidebar → Contacts.
How Contacts Are Added
Contacts enter your database in four ways:
Automatically from conversations — contacts are created or updated whenever a customer interacts with your widget or channels. Specific triggers include:
- A customer submits a pre-chat form with their name and email
- A customer enters their email or phone number in the channel greeting prompt
- A customer shares contact details during an ongoing chat conversation
- A customer’s verified email is captured when they create a ticket
Manually by an agent — any agent can create a single contact record directly in the Contacts module (see below).
By CSV import — bulk contact records can be uploaded from a CSV file (see below).
Adding a Single Contact Manually
- In the Contacts module, click New Contact in the top-right corner
- Fill in the available fields
- Click Submit
The contact is added to your database immediately and will appear in the contact list.
Importing Multiple Contacts via CSV
To add a large number of contacts at once:
- Click the Import button in the top-right corner of the Contacts screen
- Select a CSV file from your system
- Inquirly will process the file and add the contacts to your database automatically
Use this method when migrating from another tool or when onboarding a large customer list. For migration-specific guidance, see How to Migrate to Inquirly.
Organizing Your Contact List
Filtering by label
To view contacts associated with a specific label, select that label from the Tagged With list. The contact table updates to show only contacts carrying that tag.
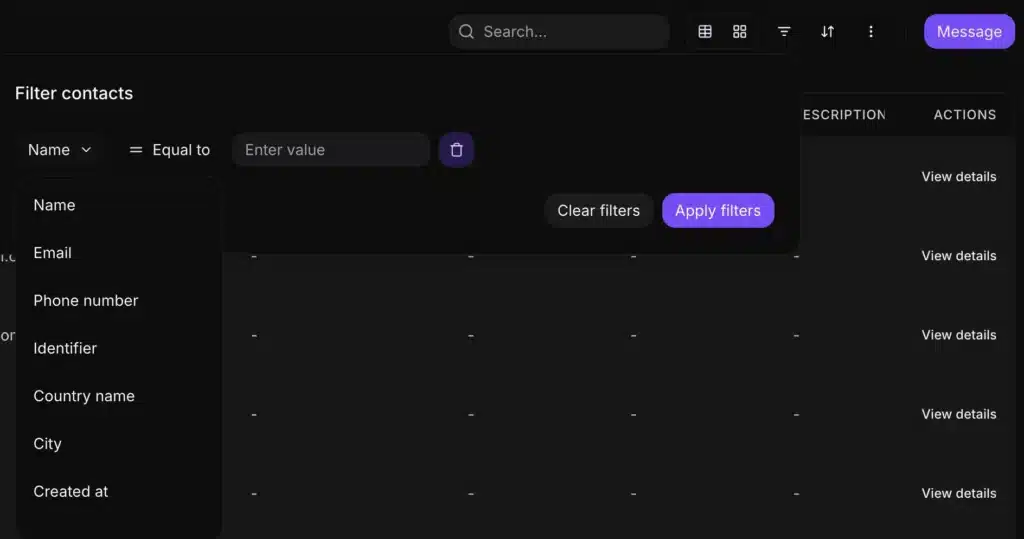
Filtering by attributes
Click the Filter contacts option to apply attribute-based filters. Available filter fields include:
- Name
- Phone number
- Identifier
- Country name
- City
- Created at
Set the operator (Equal to, and others) and enter a value, then click Apply filters.
Sorting the contact table
Click the sort arrow on any column header to sort the list. Available sort columns and their order types:
| Column | Sort order |
| Name | Alphabetical |
| Alphabetical | |
| Phone number | Numerical |
| Company name | Alphabetical |
| City | Alphabetical |
| Country | Alphabetical |
| Last Activity | Chronological |
Contact Actions
Click on any contact’s name to open their detailed profile. From the contact profile you can view their full conversation history and take the following actions.
Send a message
Send an outbound message to the contact directly from their profile page via:
- Website chat (for HMAC-identified contacts)
- SMS
Add a note
Notes let you log important details about a contact — calls, emails, meetings, or any context that is not captured in a conversation thread.
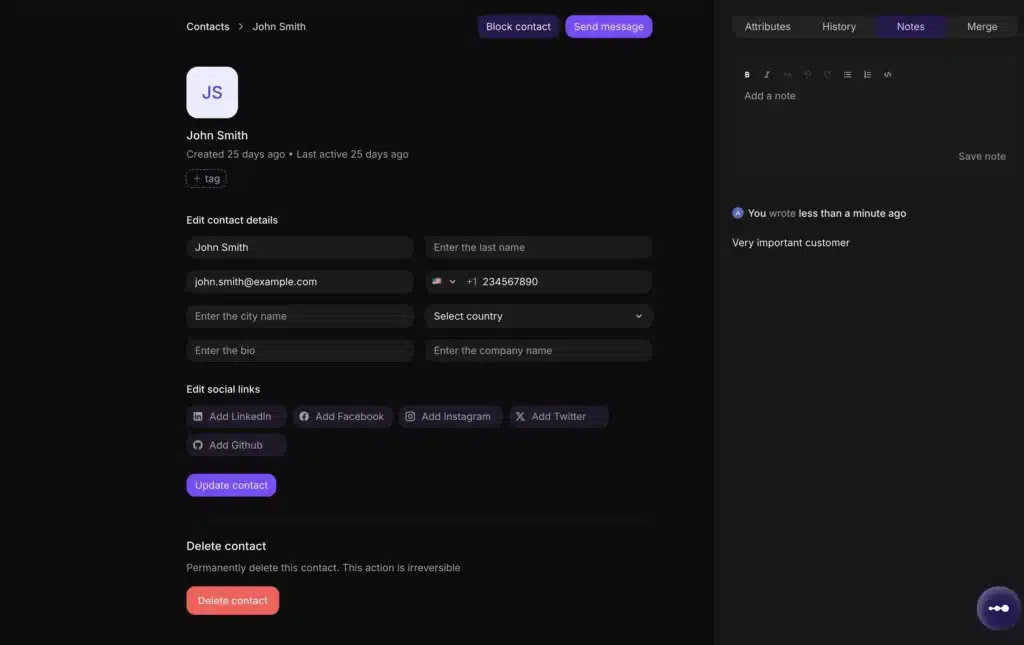
Steps to add a note:
- Open the contact profile
- Locate the Notes section
- Type your note in the text field
- Click Add or press Cmd + Enter
Notes support rich text formatting and can be deleted at any time.